Upgrading your conservatory for winter is less about simply adding insulation and more about engineering a complete thermal system.
- Identify and seal hidden thermal bridges in frames and dwarf walls, not just obvious drafts.
- Ensure proper ventilation is integrated with new insulation to prevent interstitial condensation and mold.
- Choose insulation materials based on a technical analysis of U-value, R-value, and acoustic performance.
Recommendation: Calculate your HVAC needs *after* all insulation upgrades are complete to avoid oversizing your system and wasting energy.
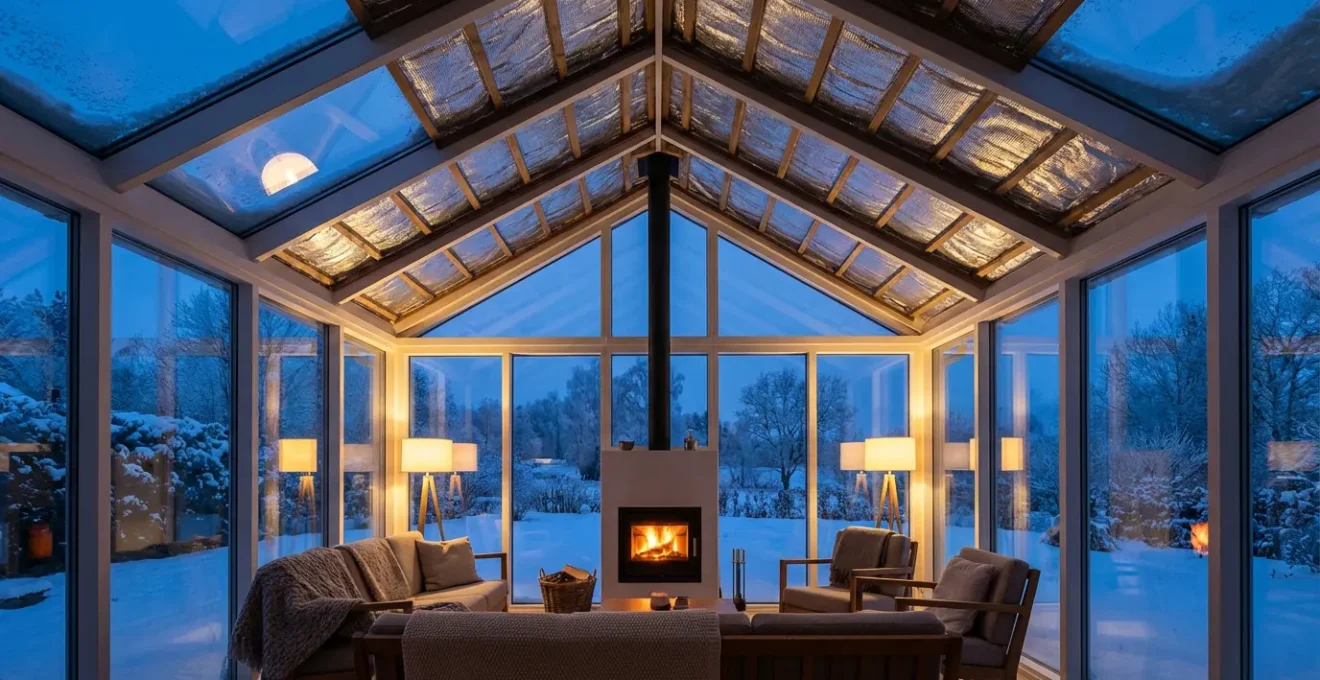
For many homeowners, the conservatory is a frustrating paradox: an idyllic sun-trap in spring that becomes an unusable sauna in summer and an icebox in winter. The common advice often revolves around draft-proofing or adding heavy curtains, but these are merely surface-level fixes for a deeper, systemic problem. Owners of older glass extensions, in particular, find these solutions fall short, leaving the room thermally detached from the rest of the house and a significant drain on energy.
The core issue isn’t just a single point of failure but a combination of factors, from outdated glazing technology to the very structure of the building. To truly transform this space into a comfortable, year-round living area without resorting to a full window replacement, a more technical and holistic approach is required. This involves thinking like an energy efficiency engineer: diagnosing the precise points of heat loss, understanding the properties of different insulation materials, and anticipating the secondary effects of your interventions, such as changes in ventilation and acoustics.
This guide moves beyond generic tips to provide a strategic framework for retrofitting your conservatory. We will dissect the science of heat loss in glazed structures, introduce methods for precise diagnosis, and compare the technical trade-offs of different insulation solutions. By focusing on a systems-based approach, you can create a genuinely comfortable space and significantly reduce its energy footprint.
For those who prefer a visual summary, the following video provides an excellent overview of the core principles of conservatory roof insulation, which is a critical first step in the process.
To help you navigate this technical landscape, this article is structured to walk you through the diagnosis, solution, and validation stages of a successful conservatory insulation project. The following summary outlines the key areas we will cover.
Summary: A Technical Guide to Conservatory Insulation
- Why Your Conservatory Loses Heat 4x Faster Than Your Living Room?
- How to Identify Cold Bridges in Your Extension Using a $50 Thermal Camera?
- Polycarbonate vs Solid Roof Insulation: Which Offers Better Soundproofing?
- The Ventilation Oversight That Causes Mold Behind New Insulation Layers
- How to Lower Your HVAC Load by 25% With Strategic Thermal Blinds?
- U-Value 1.4 vs 1.8: Is the Difference Worth the Extra Cost?
- Double vs Triple Glazing: Is the Extra Cost Worth It for a 3-Season Room?
- How to Calculate the HVAC Tonnage Needed for a Highly Glazed Extension?
Why Your Conservatory Loses Heat 4x Faster Than Your Living Room?
A conservatory’s inability to retain heat is not just a perception; it’s a matter of physics. The primary culprit is the vast surface area of glass and, in many older models, a polycarbonate roof. These materials have very poor thermal resistance compared to the insulated cavity walls of your home. Heat transfer occurs rapidly through conduction (via the glass and frames) and radiation (heat escaping outwards). Even the best quality glazing can lose heat at a faster rate than a standard, uninsulated cavity wall, making the space a significant energy sink.
The roof is the single largest area of heat loss. An uninsulated polycarbonate or single-glazed glass roof can be responsible for over a quarter of all heat escaping the structure. This is because warm air rises, comes into contact with the cold roof surface, and rapidly loses its thermal energy to the outside. The effect is a persistent cold spot overhead that creates uncomfortable drafts as the cooled air sinks.
Furthermore, the entire structure acts as a giant radiator in reverse during winter. The metal or uPVC framework, the glass panes, and the floor slab are all pathways for heat to escape. While minor drafts contribute, the overwhelming majority of heat loss is a result of poor material insulation properties. However, the good news is that addressing these core weaknesses can yield dramatic results; research from GreenMatch reveals that proper roof and wall insulation can prevent up to 90% of this heat loss, fundamentally changing the room’s usability.
How to Identify Cold Bridges in Your Extension Using a $50 Thermal Camera?
While it’s clear that the roof and glazing are major sources of heat loss, not all points of failure are obvious. Thermal bridges are localized areas where heat flows more easily from inside to outside. These “cold spots” are often found at the junctions between different materials, such as where the window frames meet the glass, where the roof connects to the walls, or through uninsulated structural supports. Simply adding bulk insulation without identifying these bridges is like patching a tire while ignoring a leaking valve.
A simple “hand test” on a cold day can reveal the most obvious cold spots, but for a truly technical diagnosis, a handheld thermal imaging camera is an invaluable tool. Affordable models, often available as smartphone attachments for around $50-100, can provide a clear visual map of your conservatory’s thermal performance. On the camera’s display, areas of significant heat loss will appear as distinct cold zones (typically shown in blue or purple), contrasting with the warmer, better-insulated areas (yellow or orange).
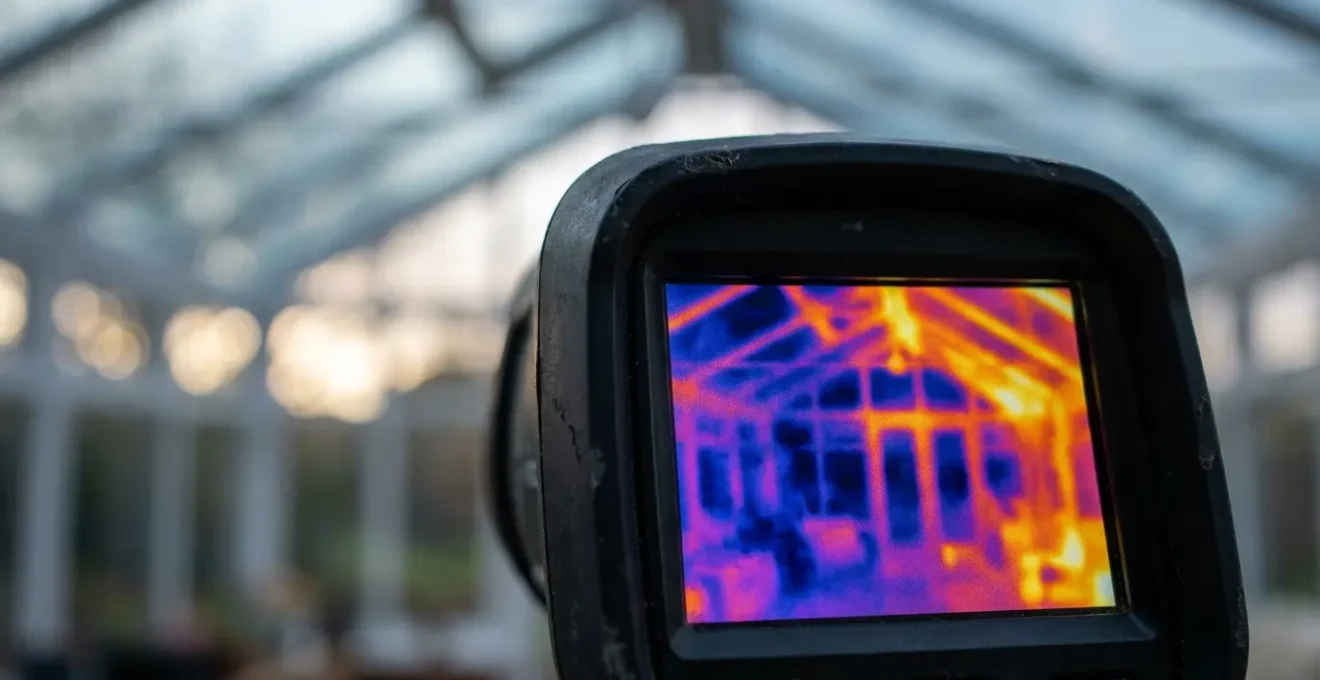
This visual data allows you to pinpoint specific problem areas with precision. You might discover that the aluminum frame spacers are acting as a major conduit for heat loss, or that the dwarf walls are colder than expected. In fact, professional thermal assessments have found that uninsulated dwarf walls and concrete slab floors can account for up to 30% of total heat loss in some conservatories. By identifying these hidden heat sinks, you can target your retrofitting efforts for maximum impact rather than wasting resources on less critical areas.
Polycarbonate vs Solid Roof Insulation: Which Offers Better Soundproofing?
When considering a roof upgrade, thermal performance is the primary driver. However, a frequently overlooked benefit is the vast improvement in acoustic comfort. The noise from heavy rain on a standard polycarbonate roof can exceed 70 decibels, comparable to a vacuum cleaner running in the room, making the space unpleasant during a downpour. Upgrading your roof insulation can dramatically mitigate this issue, but the level of soundproofing varies significantly by method.
A fully insulated, tiled solid roof provides the best acoustic performance. By replacing the polycarbonate sheets with a solid timber structure, insulation layers, and tiles, the noise from rain is reduced to around 40 decibels—the equivalent of a quiet library. This transforms the conservatory into a tranquil space usable in all weather conditions. However, this is also the most expensive and structurally demanding option, often requiring checks to ensure the existing framework can support the additional weight.
A more common retrofitting solution is to install multifoil insulation underneath the existing polycarbonate roof. This method offers a good compromise, reducing rain noise to a much more manageable 50-55 decibels, similar to a normal conversation. While not as silent as a solid roof, it represents a substantial improvement over an uninsulated one and comes at a fraction of the cost and complexity.
This comparative analysis highlights the trade-offs between different roofing solutions. As a technical overview from a detailed guide by Conservatory Advisor shows, the choice depends on both budget and desired outcome.
| Roof Type | Rain Noise Level | Sound Comparison | Insulation Method |
|---|---|---|---|
| Standard Polycarbonate | 70+ dB | Like a vacuum cleaner | No insulation |
| Polycarbonate with Multifoil | 50-55 dB | Normal conversation | Retrofitted underneath |
| Fully Insulated Solid Roof | 40 dB | Quiet library | Integrated insulation |
The Ventilation Oversight That Causes Mold Behind New Insulation Layers
Adding a high-performance insulation system to your conservatory roof is a major step towards year-round comfort. However, there is a critical oversight that can turn this investment into a costly problem: inadequate ventilation. When you create a warm, airtight space, you also change its moisture dynamics. Without a clear path for water vapor to escape, it can become trapped behind the new insulation layers, leading to interstitial condensation and, eventually, mold and rot.
This happens because the warm, moist air from inside the conservatory rises and passes through the new ceiling finish. When it hits the cold underside of the original polycarbonate or glass roof, it cools rapidly, and the moisture condenses into water droplets. If this moisture cannot escape, it saturates the insulation and timber framework, creating the perfect breeding ground for mold. This not only poses a health risk but can also degrade the structural integrity of the insulation system over time.
Professional installers prevent this by creating a ventilated air gap and installing a vapour control layer (VCL). A study of over 25,000 installations found that systems with a properly installed VCL and a maintained 25mm air gap prevented 98% of condensation issues. In stark contrast, it was found that 40% of DIY installations that omitted these crucial steps showed signs of mold within the first year. This demonstrates that ventilation is not an afterthought but an integral component of a successful insulation strategy.
Key Ventilation Checks for Conservatory Insulation
- Maintain Air Gaps: Ensure a continuous 25mm air gap is maintained between the new insulation and the original roof structure. Never block existing trickle vents during installation.
- Eliminate Cold Pockets: Design the insulation layout to ensure continuous airflow paths, especially in corners and at junctions, to prevent unventilated cold spots where moisture can gather.
- Install a Vapour Barrier: Always install a high-quality, breathable vapour control layer on the warm side of the insulation to prevent warm, moist air from reaching the cold outer roof surface.
How to Lower Your HVAC Load by 25% With Strategic Thermal Blinds?
While roof insulation is the most impactful upgrade, the vast glazed walls remain a significant area of heat exchange. Replacing all windows with triple glazing is often prohibitively expensive. A far more cost-effective strategy is the installation of high-performance thermal blinds. These are not standard decorative blinds; they are specifically engineered to create an insulating air pocket against the glass, significantly reducing both heat loss in winter and solar gain in summer.
The most effective type for thermal performance are honeycomb or cellular shades. Their unique construction traps air in distinct pockets, creating an insulating barrier that can reduce heat loss through a window by 25-40%. When combined with a “perfect-fit” frame system that includes side channels, they create a near-airtight seal against the glass, maximizing their insulating properties and dramatically reducing the load on your heating, ventilation, and air conditioning (HVAC) system.

The effectiveness of a blind is measured by its R-value, which indicates its resistance to heat flow. While standard heavy curtains have a low R-value of around 0.25, high-quality cellular shades can achieve R-values of 0.45 or higher. This tangible improvement in insulation can directly translate to lower energy bills and a much more stable indoor temperature.
The following table, based on data from sources like an analysis by Homebuilding & Renovating, compares the performance and general cost of different thermal window treatments, showing a clear correlation between investment and insulation efficiency.
| Blind Type | R-Value | Heat Loss Reduction | Cost Category |
|---|---|---|---|
| Heavy Thermal Curtains | 0.25 | 10-15% | Good (£200-400) |
| Honeycomb/Cellular Shades | 0.45 | 20-30% | Better (£400-800) |
| Perfect-Fit with Side Channels | 0.60 | 25-40% | Best (£800-1500) |
U-Value 1.4 vs 1.8: Is the Difference Worth the Extra Cost?
When evaluating insulation products, from solid roof systems to glazing units, you will encounter the term U-value. This metric is a crucial indicator of performance, measuring the rate of heat transfer through a material. The lower the U-value, the better the material is at preventing heat loss. Understanding this metric is key to making a cost-effective decision, especially when comparing products with seemingly small differences in performance, such as a glazing unit with a U-value of 1.4 W/m²K versus one at 1.8 W/m²K.
To put this in perspective, an old single-glazed pane can have a U-value as high as 5.0, while a modern, well-insulated solid roof can achieve a U-value below 0.2. The difference between 1.4 and 1.8 might seem minor, but over a large glazed area, it translates into a significant difference in heat retention and energy costs. The 1.4 unit is approximately 22% more efficient at stopping heat loss than the 1.8 unit. Over the lifespan of the product, this improved efficiency can lead to tangible savings on heating bills.
The decision of whether the extra upfront cost is “worth it” depends on several factors: the local climate, the size of the conservatory, and how you intend to use the space. For a room you plan to heat and use daily throughout the winter, investing in the lower U-value product will likely pay for itself in energy savings and improved comfort. For example, some analyses show that upgrading from an old glass roof to a modern solid insulated roof can result in annual heating savings of around £200. While the jump from a U-value of 1.8 to 1.4 won’t be as dramatic, the principle of diminishing returns applies; you pay more for each incremental gain in efficiency.
Double vs Triple Glazing: Is the Extra Cost Worth It for a 3-Season Room?
The question of upgrading from double to triple glazing is a common dilemma for conservatory owners. Triple glazing offers superior thermal and acoustic insulation, with U-values that can approach those of an insulated wall. However, the upfront cost can be substantial, and for a room that is primarily used for three seasons of the year, it may represent an over-investment. A powerful insight from EDF Energy’s comparison reveals that even the best quality glazing still loses heat significantly faster than a properly insulated cavity wall, highlighting that glazing is always the thermal weak point.
For many retrofitting projects where budget is a key constraint, the incremental benefit of triple glazing over modern, high-performance double glazing may not justify the expense. Fortunately, several innovative and cost-effective alternatives exist that can deliver near-triple-glazing performance without the need for a full window replacement. These solutions focus on enhancing the performance of your existing double-glazed units.
These budget-friendly options can be used individually or in combination to create a highly efficient thermal barrier at a fraction of the cost of new windows. They are particularly well-suited for a “3-season” room, where the goal is to extend its usability into the cooler months without aiming for the full, 24/7 thermal performance of an integrated living space.
- Solar Protection Film: Applying a high-quality, Low-E (low-emissivity) window film to your existing double glazing can reduce summer heat gain by over 30% and reduce winter heat loss, all for a minimal outlay.
- Magnetic Secondary Glazing: Installing custom-fit acrylic panels on the inside of your existing windows with magnetic seals creates a third layer of insulation, effectively simulating triple glazing. This option can achieve near-triple-glazing U-values for as little as 20% of the replacement cost.
- Combined Solutions: For maximum performance without replacement, combining a Low-E window film with insulated honeycomb blinds provides a dual barrier that approaches the U-value of a triple-glazed unit when the blinds are closed.
Key Takeaways
- A conservatory’s thermal inefficiency is systemic; focus on a holistic solution targeting the roof, walls, and floor, not just drafts.
- Proper insulation must be paired with a robust ventilation strategy (air gaps and a vapour barrier) to prevent costly mold and condensation issues.
- Technical metrics like U-value (for heat loss) and R-value (for insulation) are critical for making informed, cost-effective decisions on materials.
How to Calculate the HVAC Tonnage Needed for a Highly Glazed Extension?
After upgrading your conservatory’s insulation, the final step in creating a true year-round living space is installing an appropriately sized heating and cooling system. Simply extending your home’s central heating is often inefficient. A dedicated mini-split system is typically the best solution, but its effectiveness hinges on selecting the correct size (measured in BTU or tonnage). An undersized unit will struggle to heat or cool the space, while an oversized unit will cycle on and off too frequently, leading to poor efficiency, inadequate dehumidification, and unnecessary wear.
Calculating the required HVAC load for a highly glazed room is more complex than for a standard room. You must account for the room’s volume, the U-values of the new insulation and glazing, and the significant impact of solar gain from the windows. While a professional Manual J calculation is the most accurate method, you can perform a simplified calculation to get a reliable estimate for selecting a mini-split system.
Following this calculation ensures your HVAC investment is perfectly matched to your newly insulated space. Analysis shows that a properly insulated conservatory with a correctly sized mini-split system can reach a comfortable temperature in as little as 15-20 minutes, with running costs that are up to 50% lower than trying to heat an uninsulated space. This final step transforms the room from a thermal liability into an efficient, comfortable, and integrated part of your home.
Your Action Plan: Simplified HVAC Sizing Calculation
- Calculate Room Volume: Measure the length, width, and average height of the conservatory and multiply them to get the volume in cubic feet (e.g., 12ft L x 10ft W x 8ft H = 960 cu ft).
- Determine Base BTU: Multiply the volume by a BTU factor. Use 15 BTU per cubic foot for a well-insulated conservatory (or 25 for an uninsulated one).
- Account for Solar Gain: Calculate the total square footage of glass on walls facing south and west. Add 1000 BTU for every 100 square feet of this glass area.
- Calculate Final Tonnage: Add the base BTU and the solar gain BTU together to get the total required BTU. Divide this number by 12,000 to determine the required tonnage for your mini-split system (e.g., 18,000 BTU / 12,000 = 1.5 tons).
Now that you have a comprehensive plan for transforming your conservatory, the next step is to apply these technical principles to your specific situation. Begin with a thorough diagnosis to create a targeted and cost-effective retrofitting strategy.